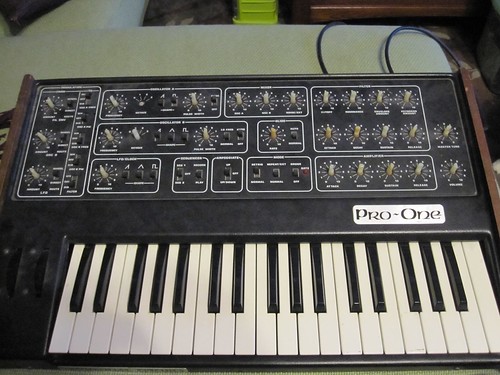
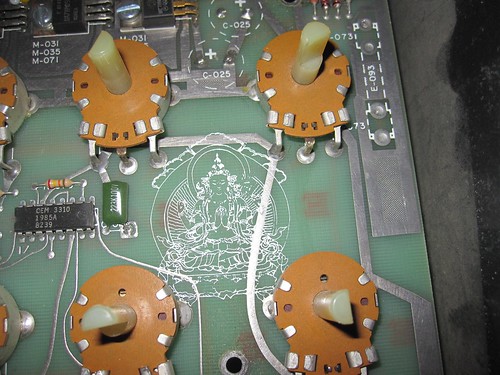
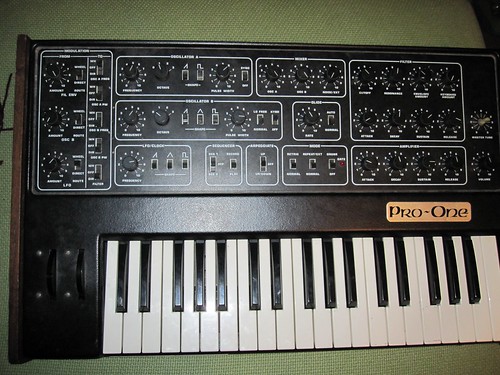
The first step was to remove all the knobs. They just pull off. Fortunately, they're also all identical so you don't really need to take any care in mixing them up. (I did, just because I'm kind of anal like that.) Here you can see the busted pot in the top row, third in from the left.
Once the knobs were removed, we had to open the case. There are two screws on each of the wood end-pieces holding them in place, and three screws on the front edge below the keyboard. After that, the top lifts off. Be careful not to yank too hard, though. The keyboard and power supply are attached to the bottom of the case while the circuit board is attached to the top of the case. There are cables connecting these two sections, which you don't want to yank out roughly. (Particularly the ribbon cable on the keyboard.)
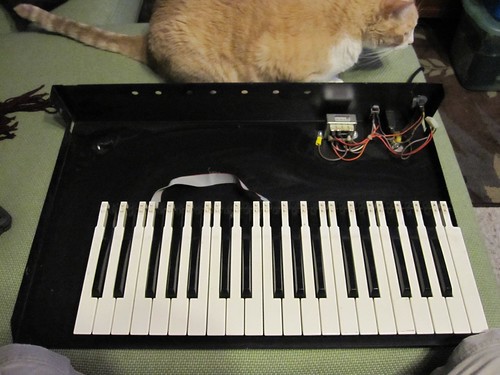
Next, we disconnected the pitch and mod wheels from the circuit board then located and removed all the screws which secure the board to the top case.
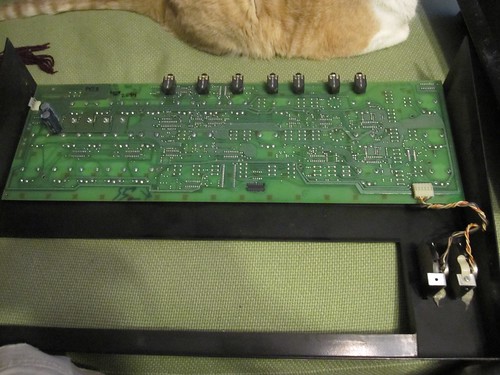
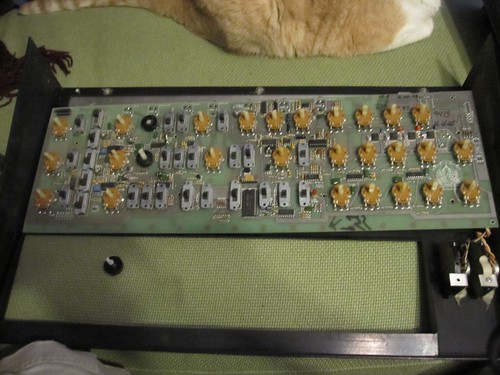
With the circuit board free of the case, we were able to look at all the little fiddly bits of electronic magic.
There are a bunch of nifty little surprises all over the board. Here is the Tibetan Buddha of Contentment which is screen printed near the Master Tune and Volume controls.
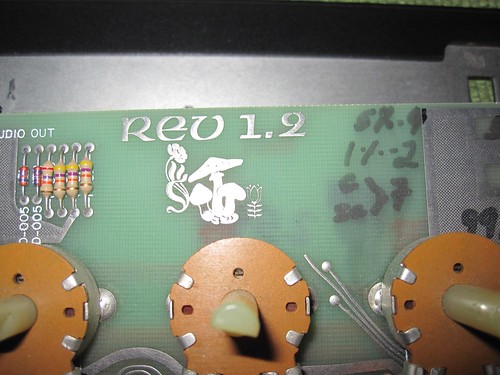
And here are the "Rev 1.2 mushrooms". From what I've been able to research, these indicate this this is a later model circuit board.
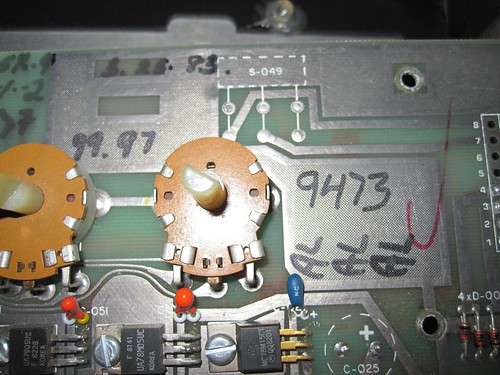
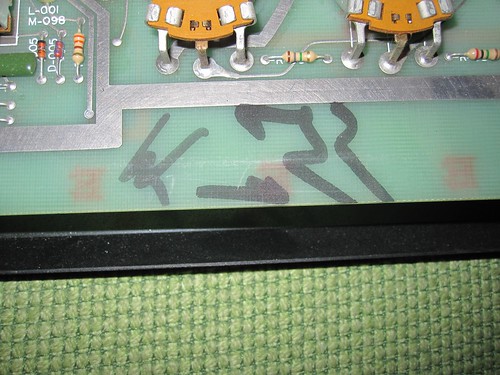
These are a bunch of markings on the board... Don't really know what they mean, but the top one does appear to be a date. (Date of manufacture, perhaps?)
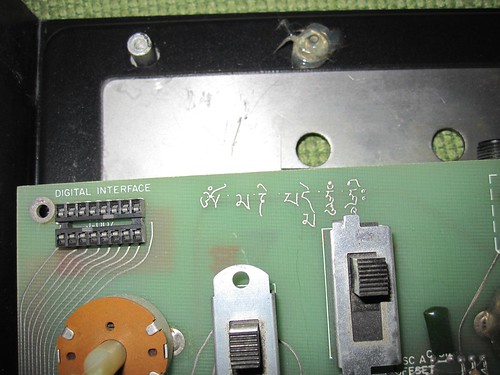
At the top left of the board is this Buddhist mantra, Om Mani Padme Hum. Curiosity will require me to do some more research on it, as it does not seem to translate nicely into English.
I'm not really sure what these markings mean, but other folks have posted similar photos stating they are the builder's signature.
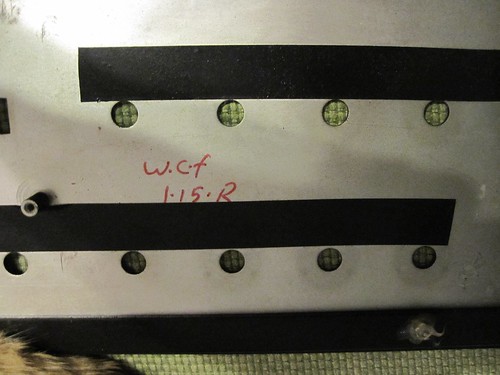
And this marking was on the inside of the upper case.
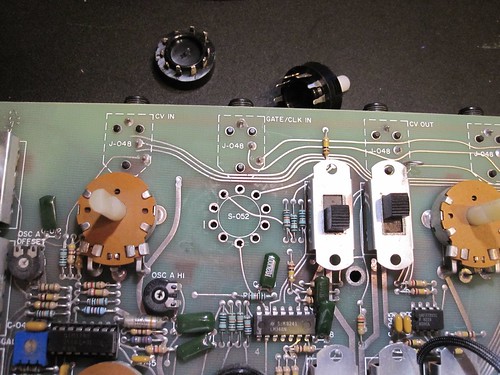
Anyway, once I finished taking photos of all that nifty stuff, it was time to get to work. Desoldering the pot went pretty smoothly other than the pin directly next to the GATE/CLK IN jack. I fought with it for a bit before getting Kali to give it a go. After 45 minutes and cutting some of the pins, the little bugger finally came out. The circuit board is thoughtfully marked with a couple of pin numbers to help make sure the new pot is aligned properly.
Once the new pot was securely soldered in place, it was just a matter of reassembling all the hardware, firing up the synth, and trying it out. I did borrow the knob from the Master Tune control for the OSC A octave switch just for appearances. I do have the old knob... somewhere... with a bit of the old potentiometer stuck inside of it. If I can find it soon and get that cleaned out, I'll be good to go. If not, I'll just have to find one online somewhere.
If you like, the entire photo set is here.